*Disclaimer: If you enable this and mess with it in such a way as to make your network insecure, I’m not responsible for what may or may not happen due to your lack of security implementation related to traffic passing in and out of your internal network, i.e. if you get hacked, sorry, although I’ll gladly get employed to mitigate the situation ;).
Checking the IPv6 WAN Status
To begin with, it’s likely that if you have a IPv6 capable router from AT&T that IPv6 is already enabled (maybe). Whether or not it’s enabled automatically for the LAN side is another question because I can’t remember how mine was initially set. Regardless, here is how to turn it on. In a second post, I’ll deal with utilizing the delegated prefix function (what used to be “subnets” in IPv4) given by AT&T to utilize IPv6 behind a second firewall for extra security from outside attackers and to take advantage of this new technology for transmitting data to and from the internet.
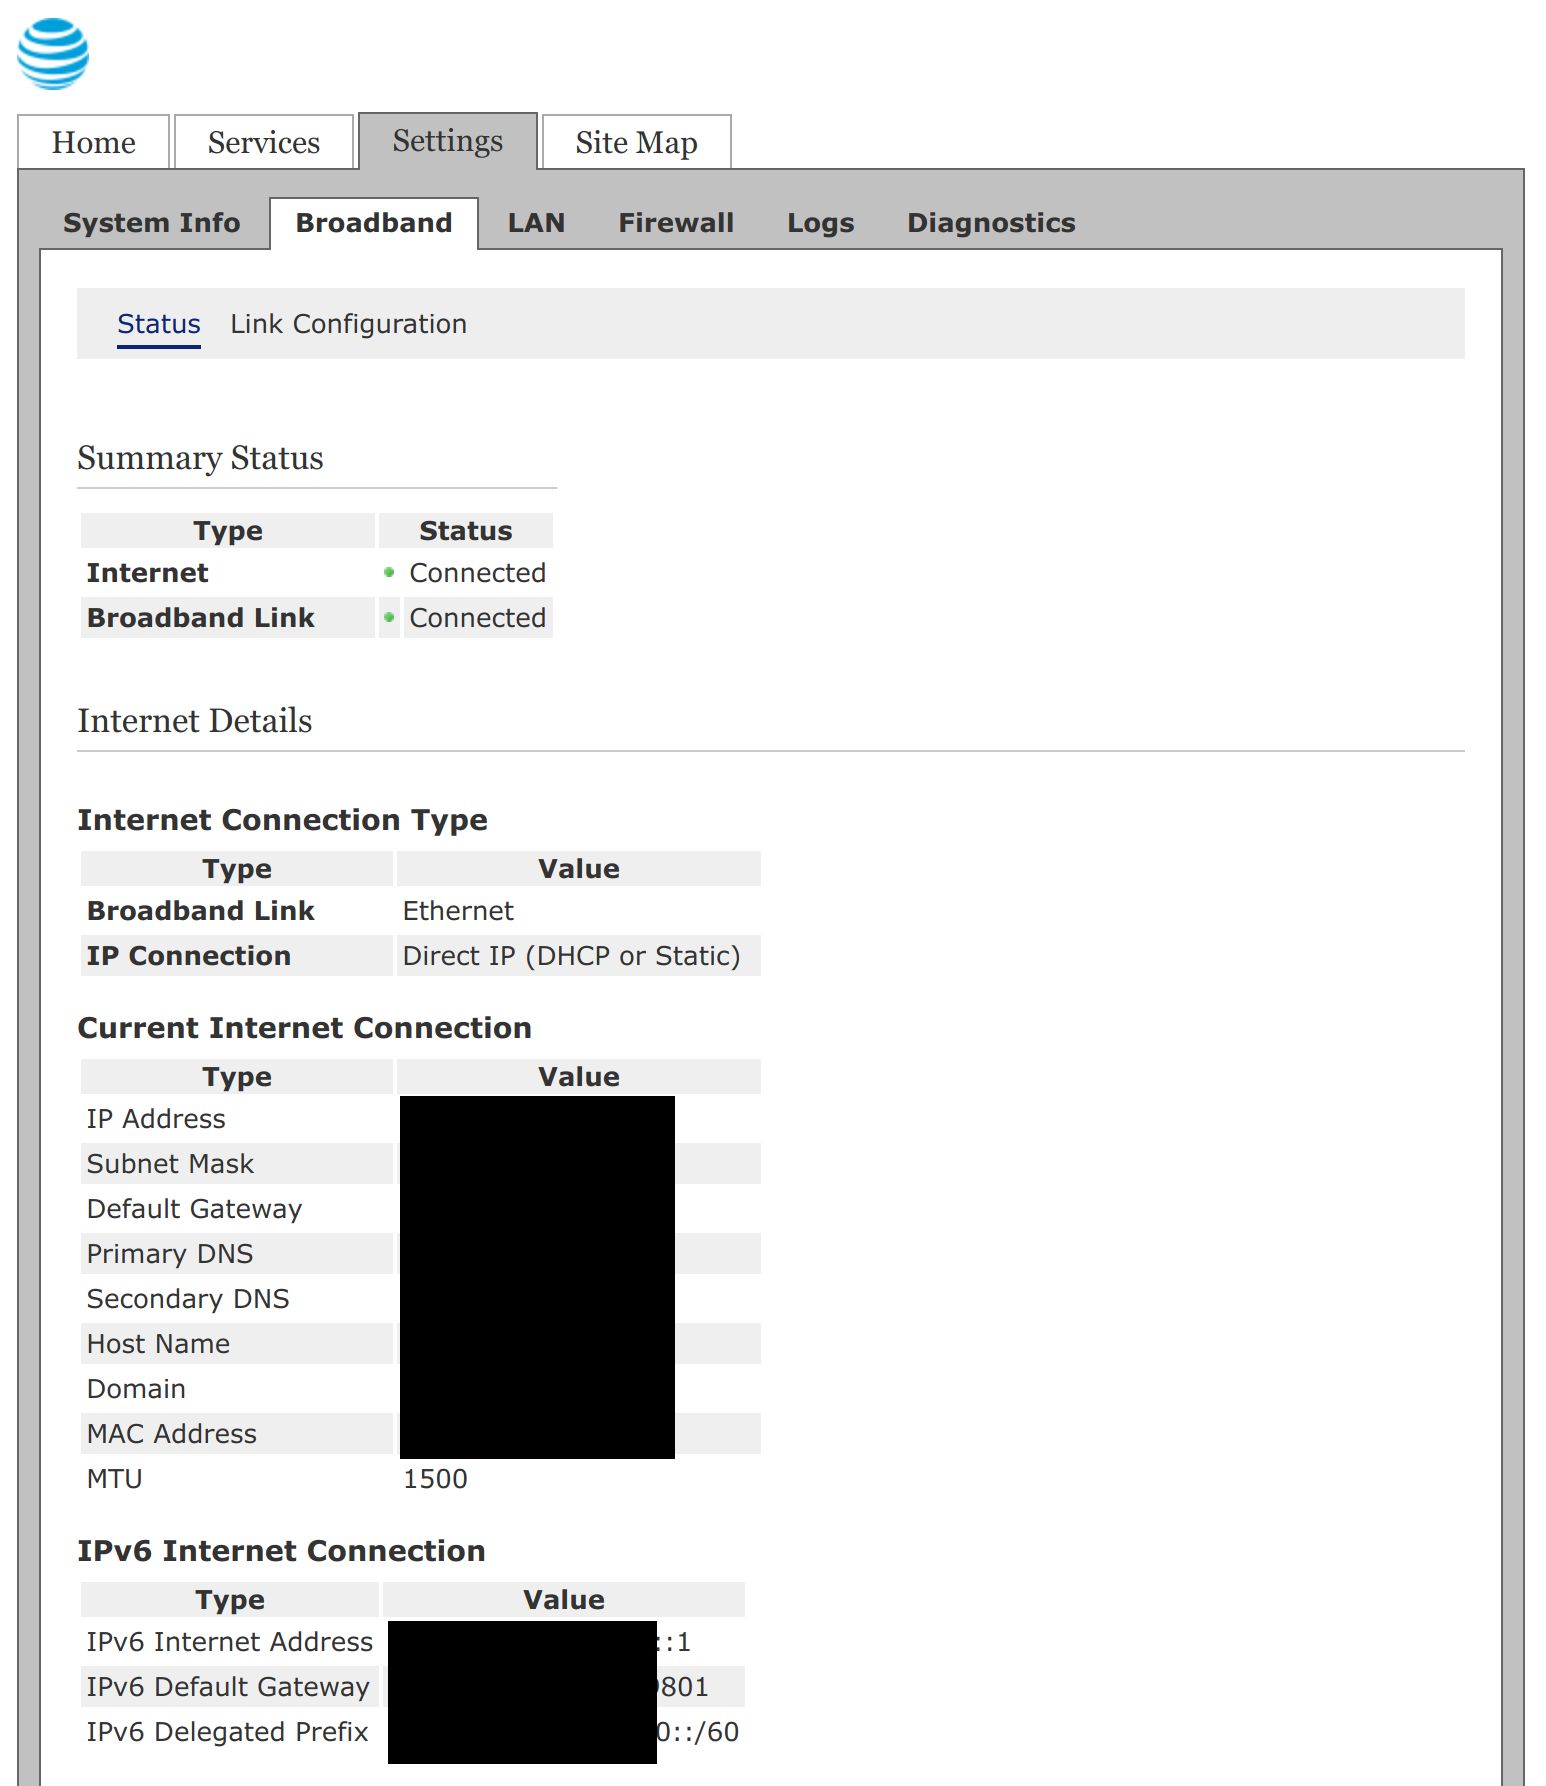
To begin with, assuming you have edit access to the router interface, using a browser, open your AT&T router configuration page (the default is http://192.168.1.254/). Here you will be able to see whether you have an IPv6 connection enabled. Click the Broadband tab to see the status. See below.
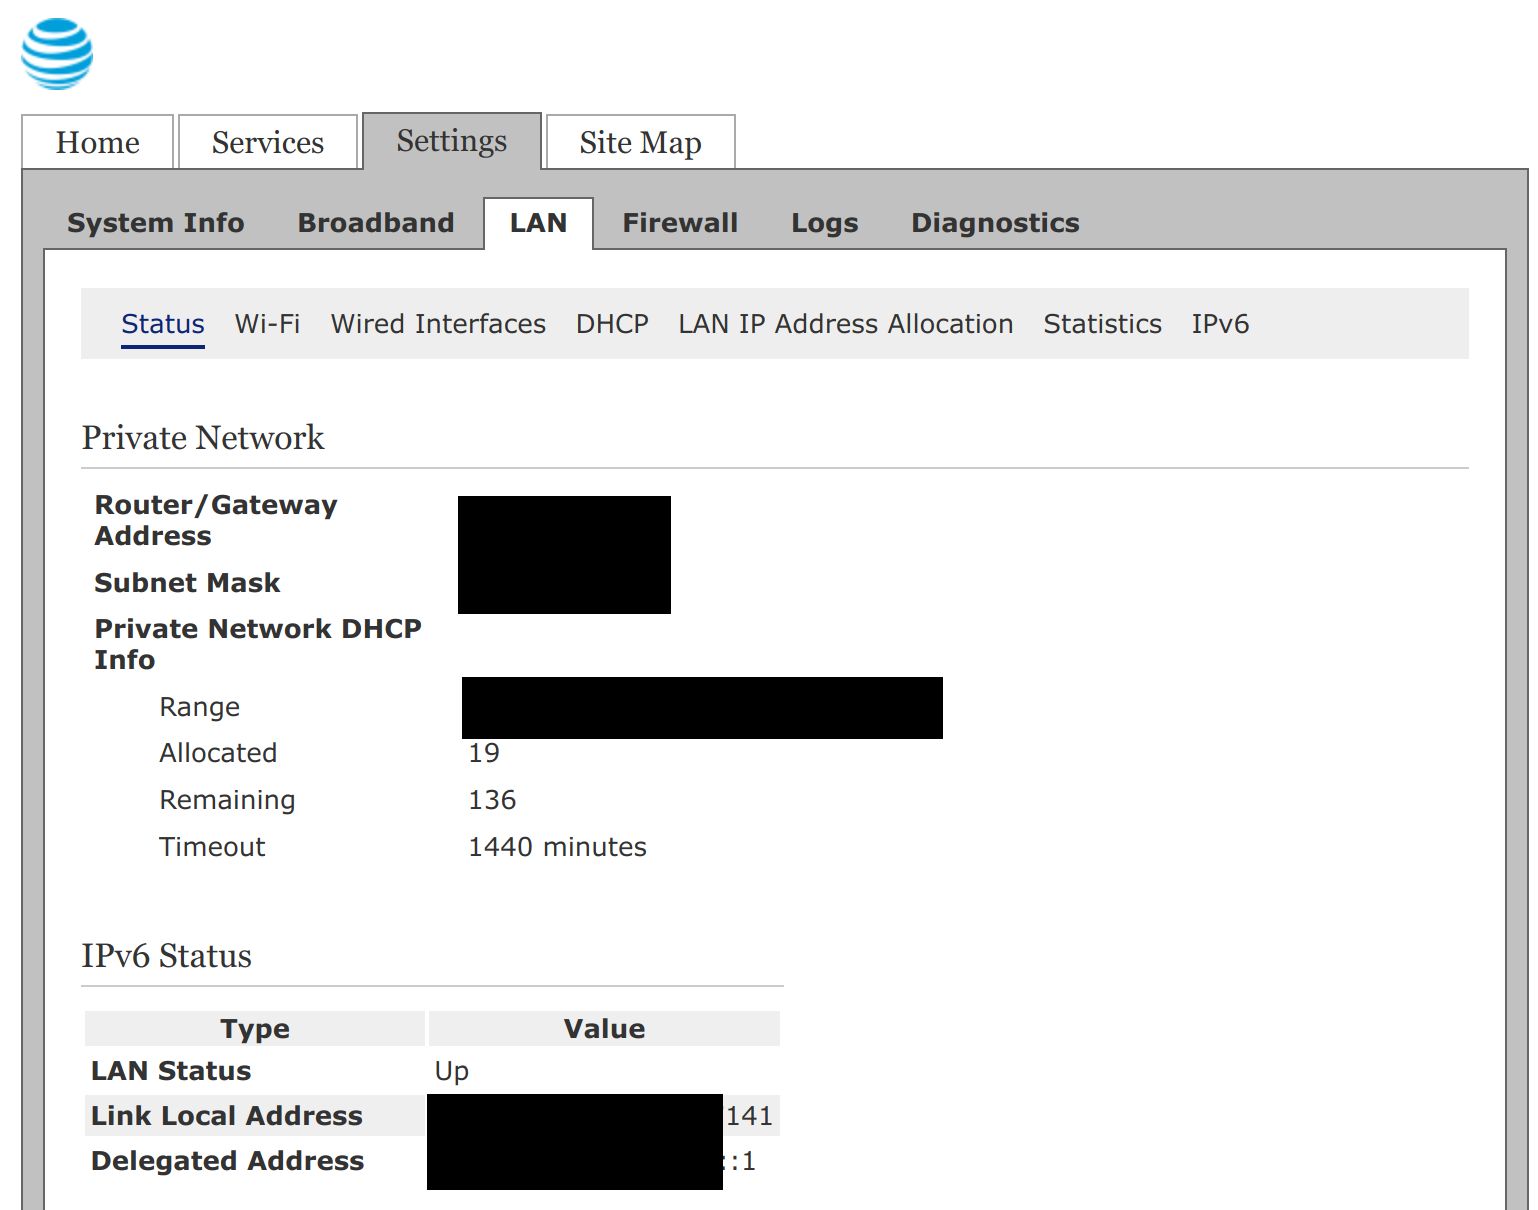
IPv6 LAN Status
Next we’ll go and see the IPv6 status on the LAN side. See below:
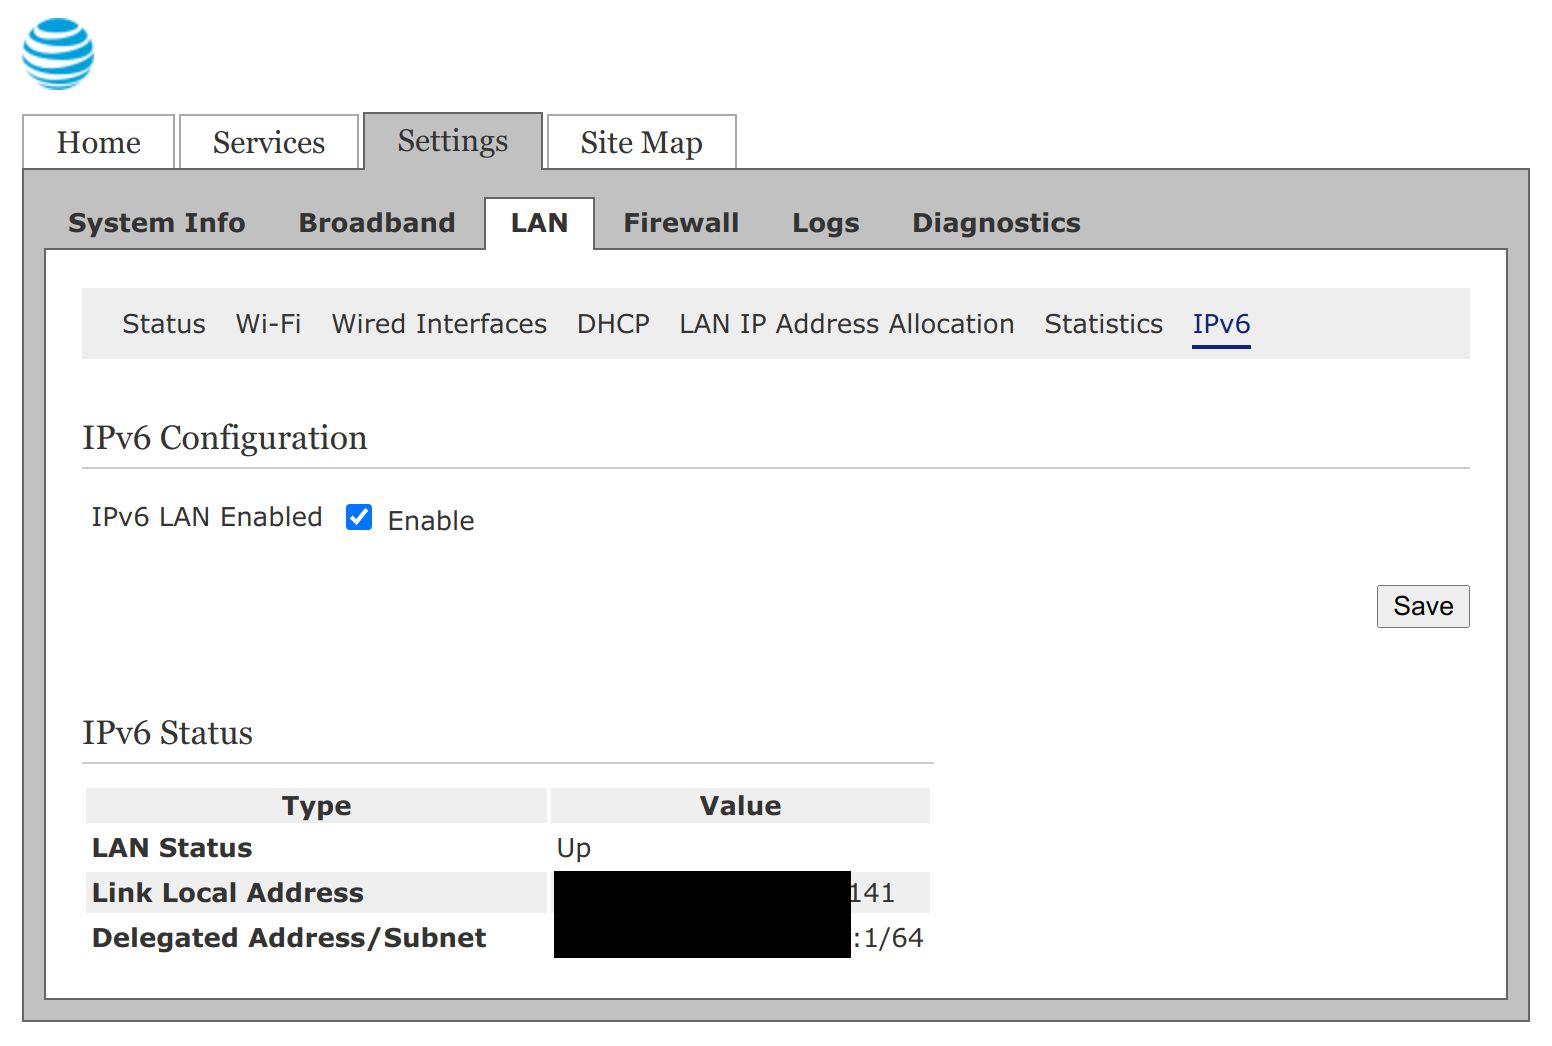
Now under the IPv6 Status section, if LAN Status is down, click the IPv6 link under the LAN tab as shown below and select the check box as shown to enable IPv6 LAN-side.
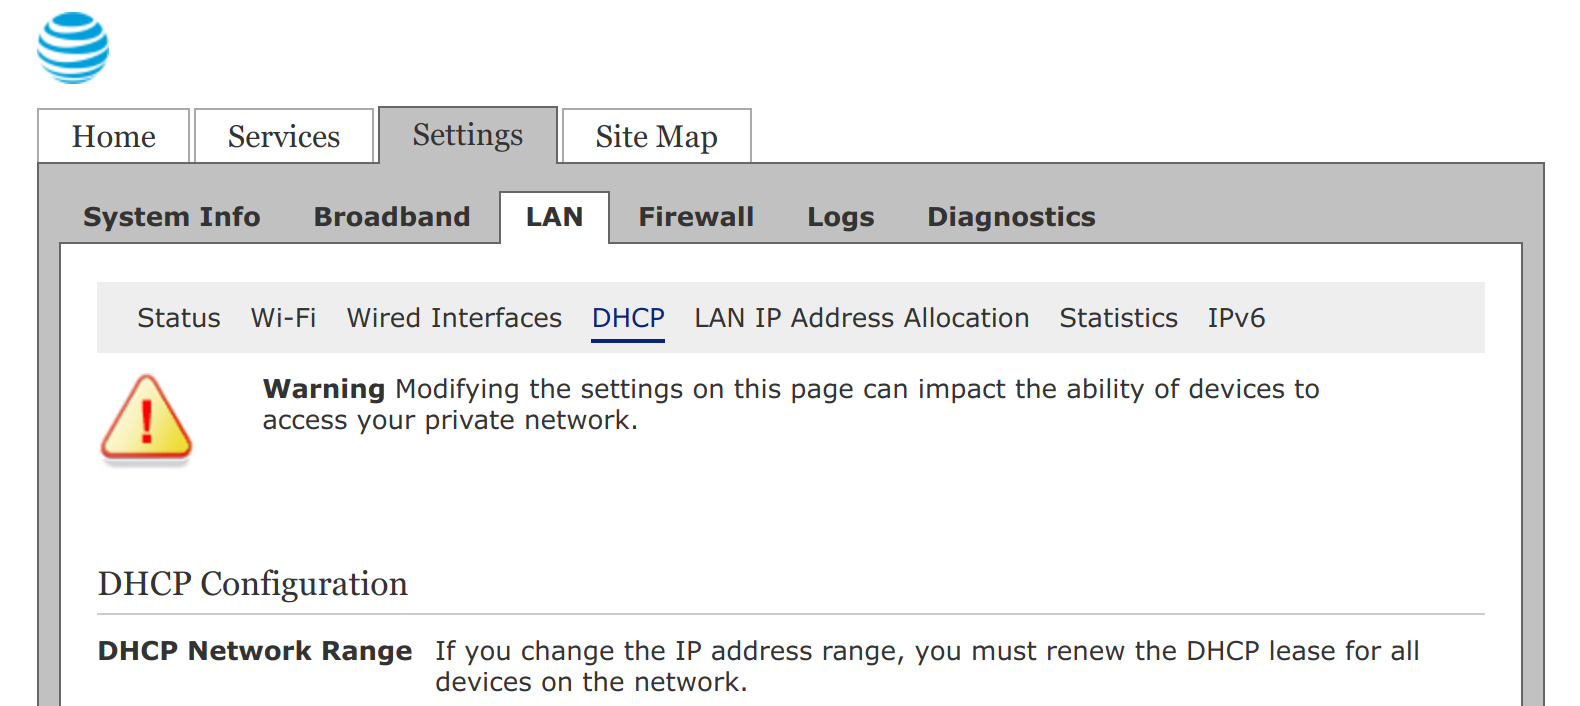
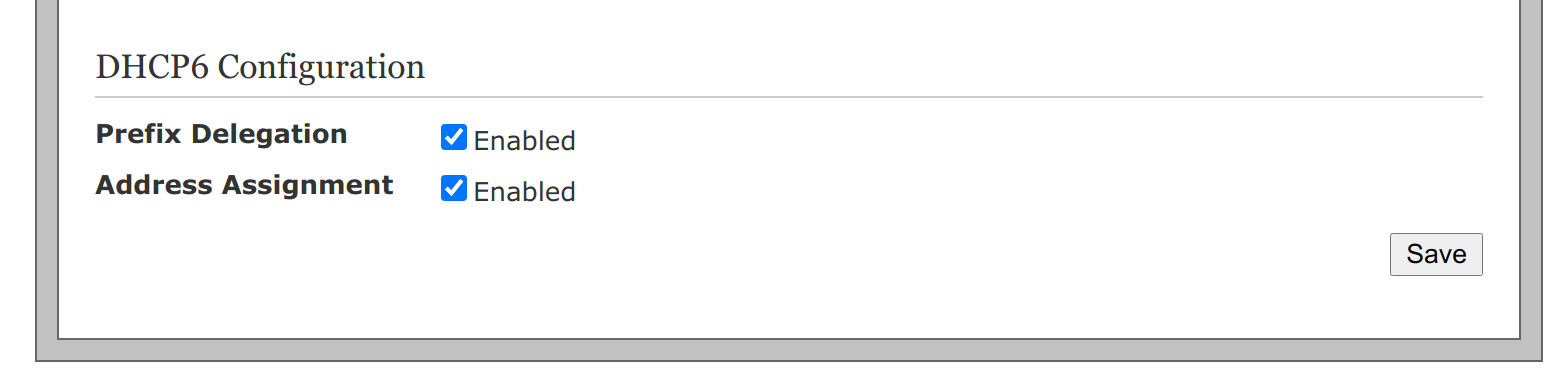
Enabling DHCP6
Now finally, go to the DHCP tab link under the LAN table and select enable on Address Assignment for simply assigning IPv6 addresses to client in your network. If you want to also enable Prefix Delegation for use behind a second firewall, check that as well (we’ll get to that in the second post).
In my next post, I’ll deal with setting up a delegated prefix, particularly on a Ubiquiti EdgeRouter 4. You may be able to take principles related to it and apply it to other routers though.
Leave a Reply