From the outset, it’s important to note that this is intended only for those who already have completed part one on the AT&T router, which is 1) enabling IPv6 on the LAN side and 2) enabling prefix delegation for the LAN. In addition, I’m using a Ubiquiti EdgeRouter 4 for my second firewall and this guide reflects that. However, if you’re using another IPv6 capable router, you may be able to glean settings from this and match them to your configuration.
1) Enabling IPv6 and DHCPv6 Prefix Delegation from the WAN Interface to the LAN Interface
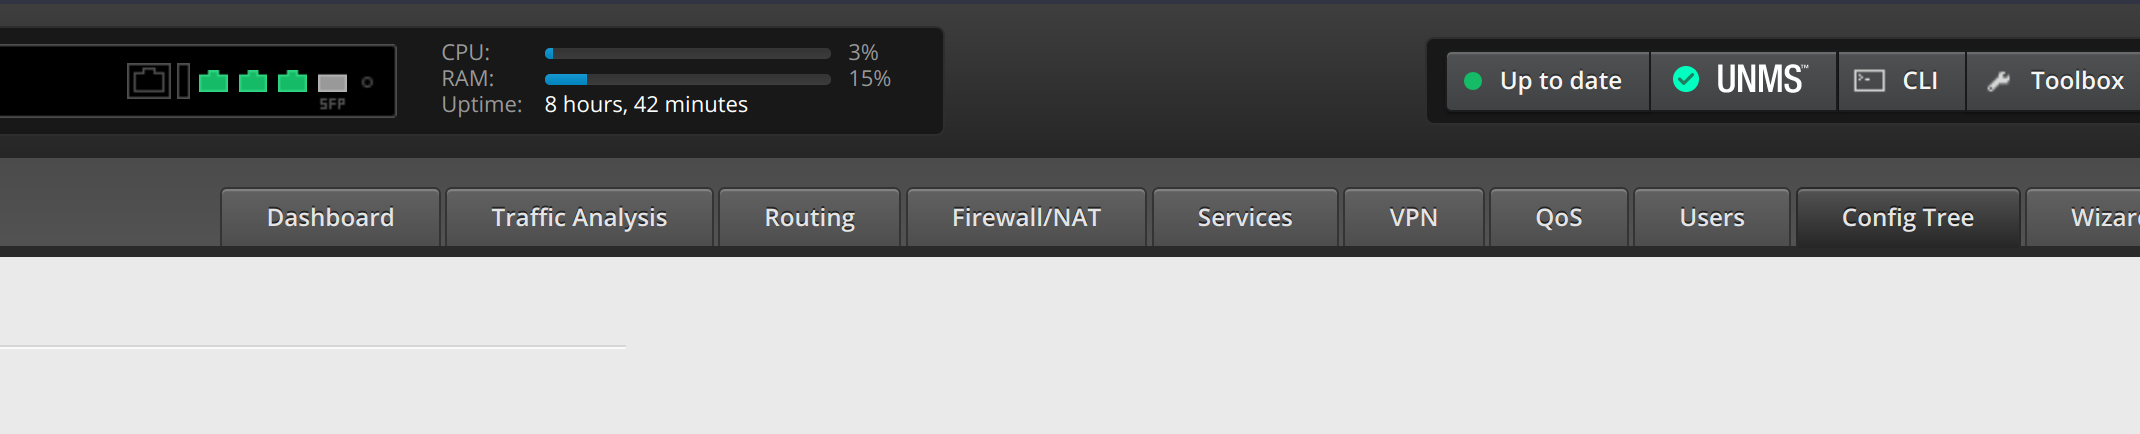
Open your EdgeRouter web interface and browse to the Config Tree tab:
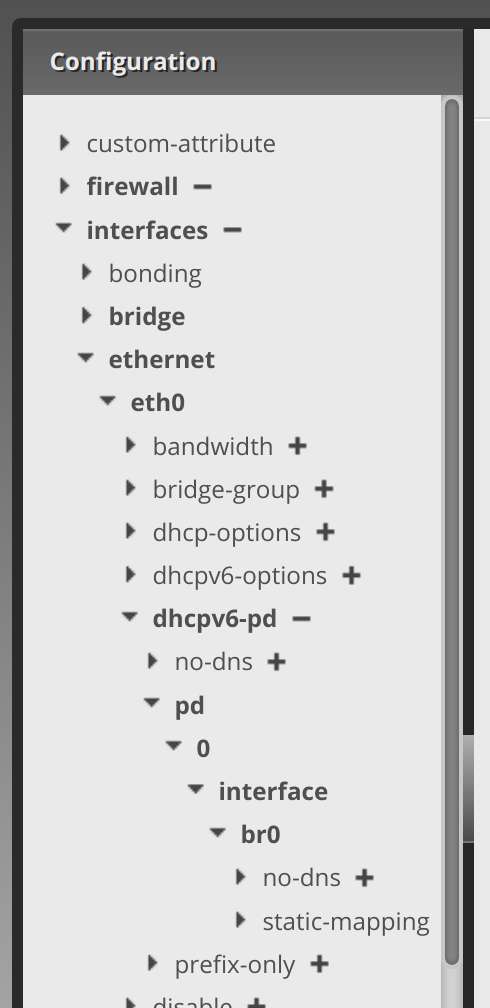
Within the Config Tree, for the first portion (enabling IPv6 on the WAN interface of the firewall, in my case eth0), we’ll be entering settings within the areas that are in bold below.
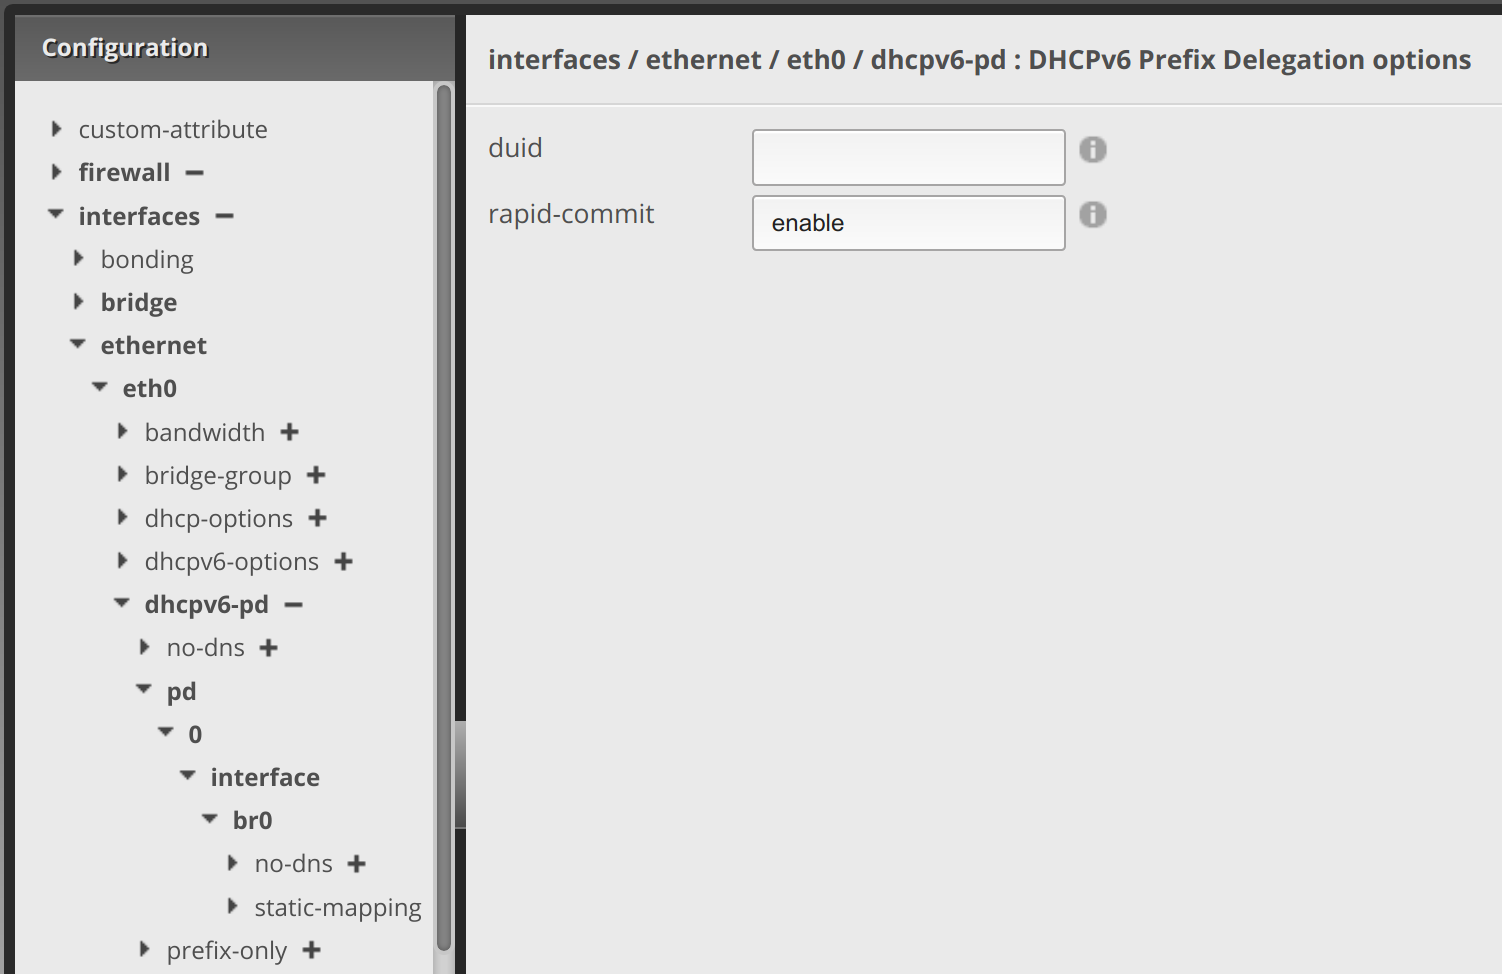
Clicking the arrow next to dhcpv6-pd, enter enable in the rapid-commit text area. Then click Update List::
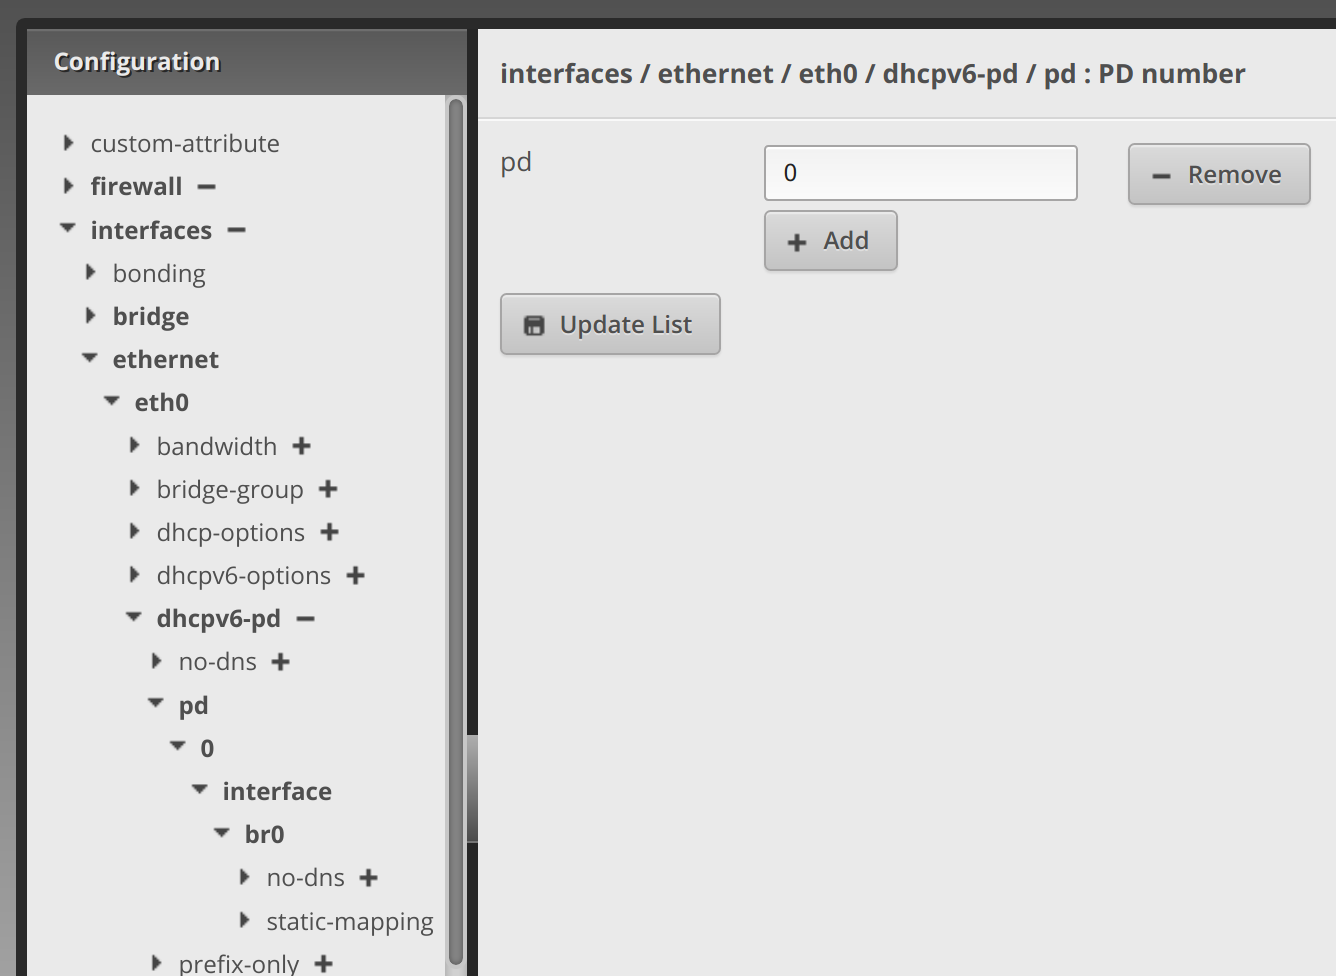
Clicking the arrow next to pd, click Add to enter 0 in the pd text area. Then click Update List:
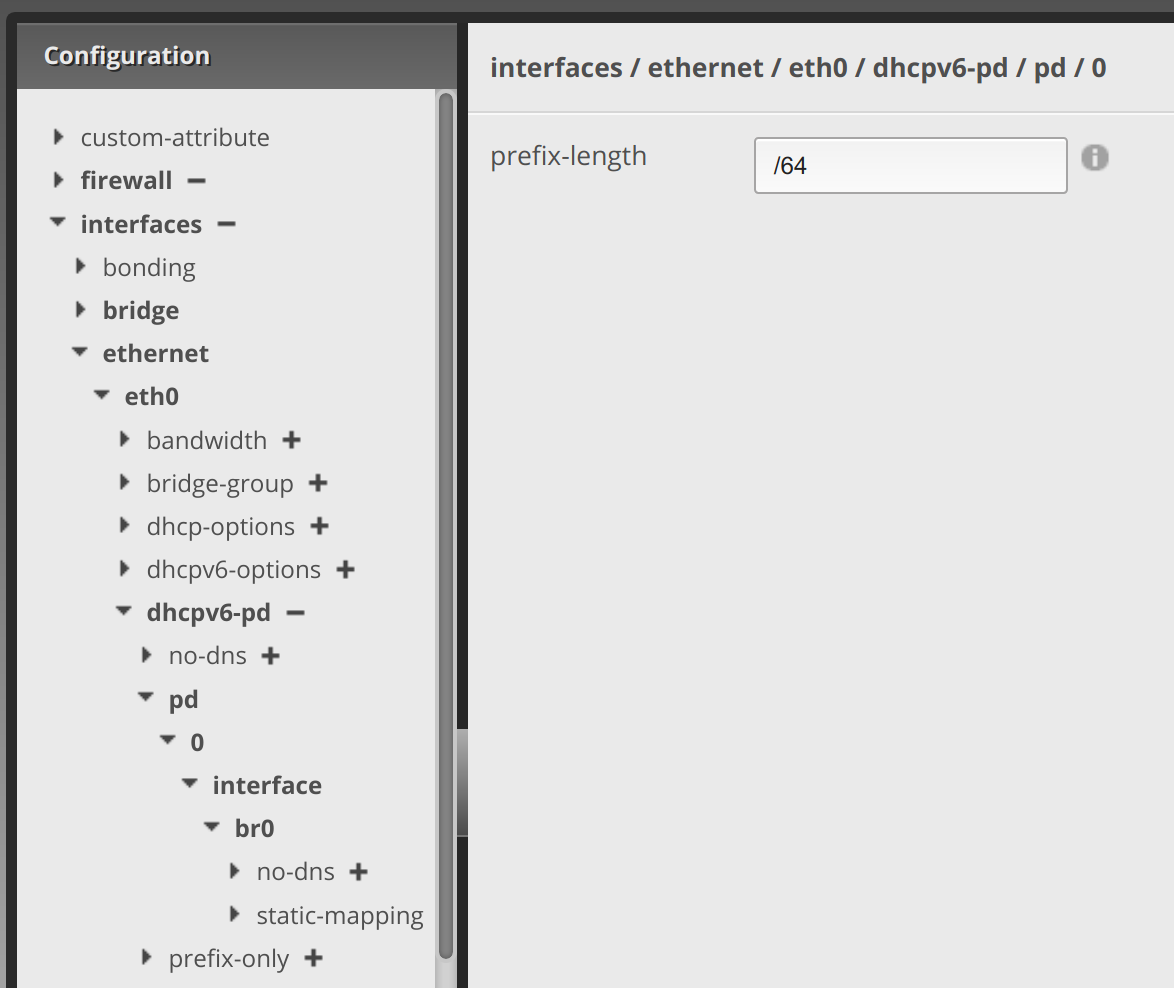
Clicking the arrow next to 0, enter /64 in the prefix-length text area. Then click Update List:.
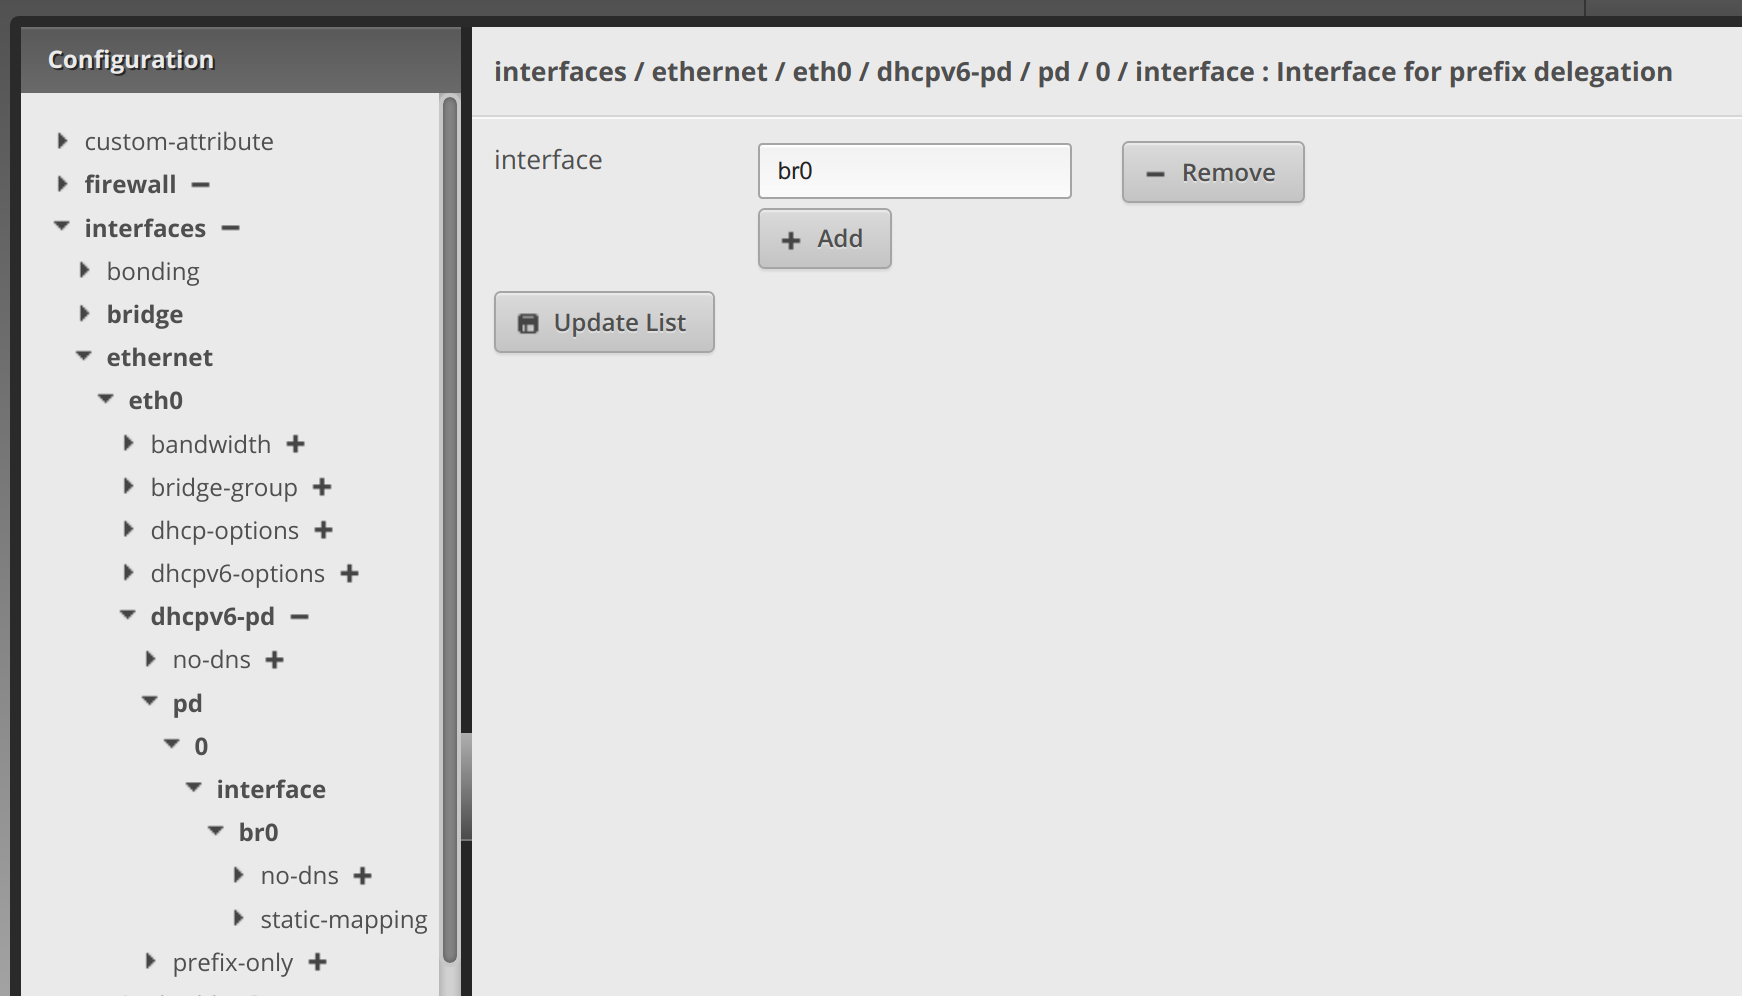
Clicking the arrow next to interface, enter br0 (or whatever your LAN interface is, I’m bridging my LAN ports) in the interface text area. Then click Update List::
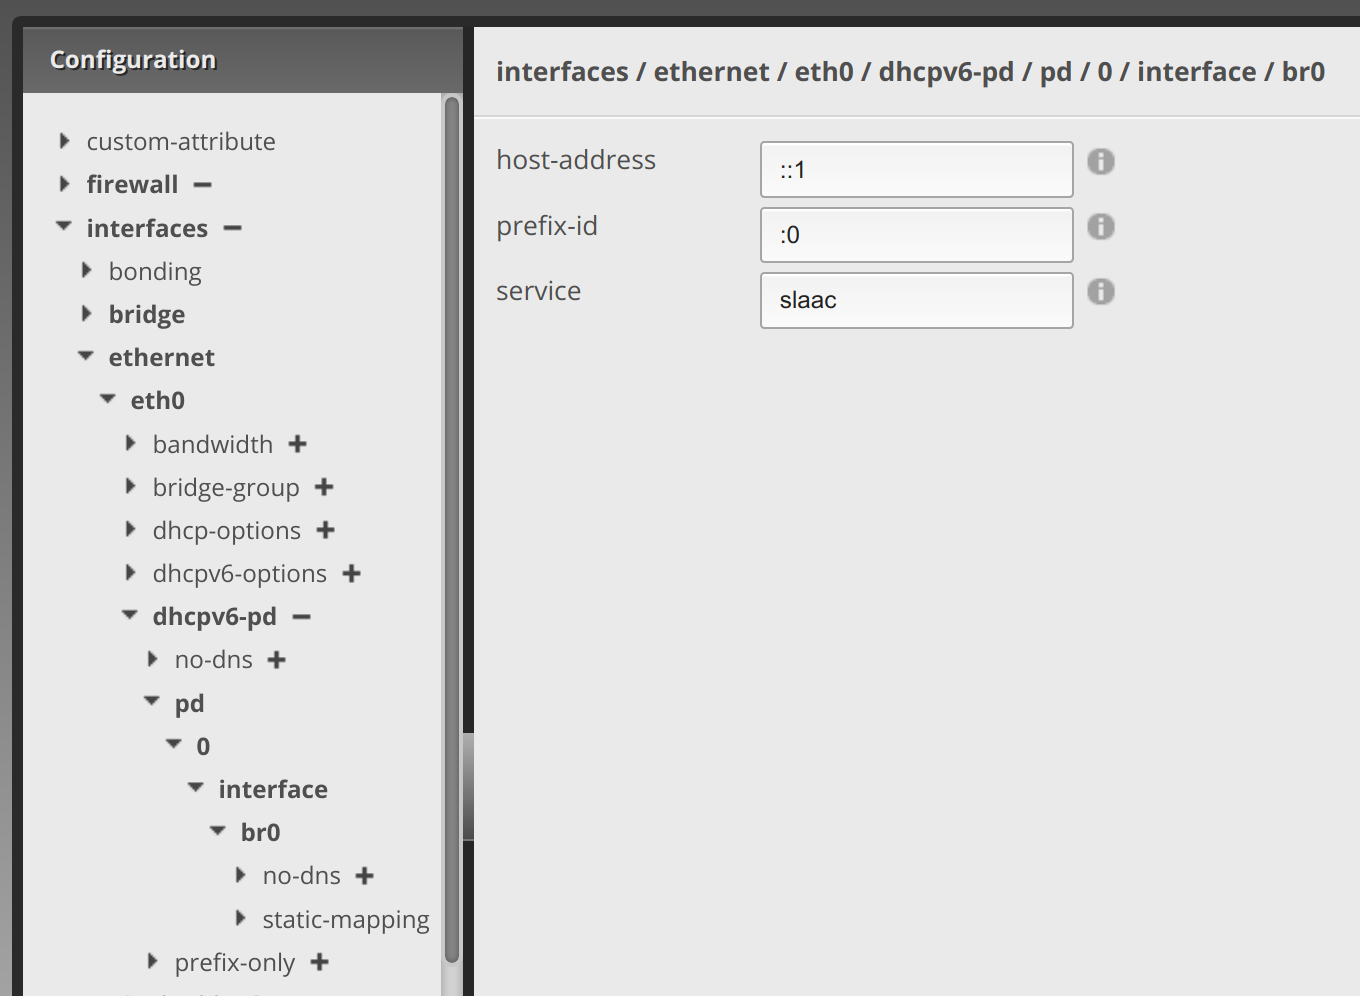
Clicking the arrow next to br0, enter ::1 in the host-address text area, :0 in the prefix-id text area, and slaac in the service text area. Then click Update List:
Once you’re done with the above, click Preview at the bottom and on the pop-up click Apply. If everything goes well and you didn’t enter something incorrectly, it will save the settings.
2) Enabling IPv6 Routing on the LAN Interface
Now on the menu below, we’re changing over to the bridge (LAN) interface (or whatever interface you’re using for the LAN side, just assume that your LAN interface in the example below is br0).
Under bridge, click the arrow next to br0. Here, you’ll click Add and enter a static IP from the delegated prefix range it gives you after applying the settings from the above work. Then click Update List. My static IPv6 address is the second redacted entry below. I just did a ::1 of the prefix given:
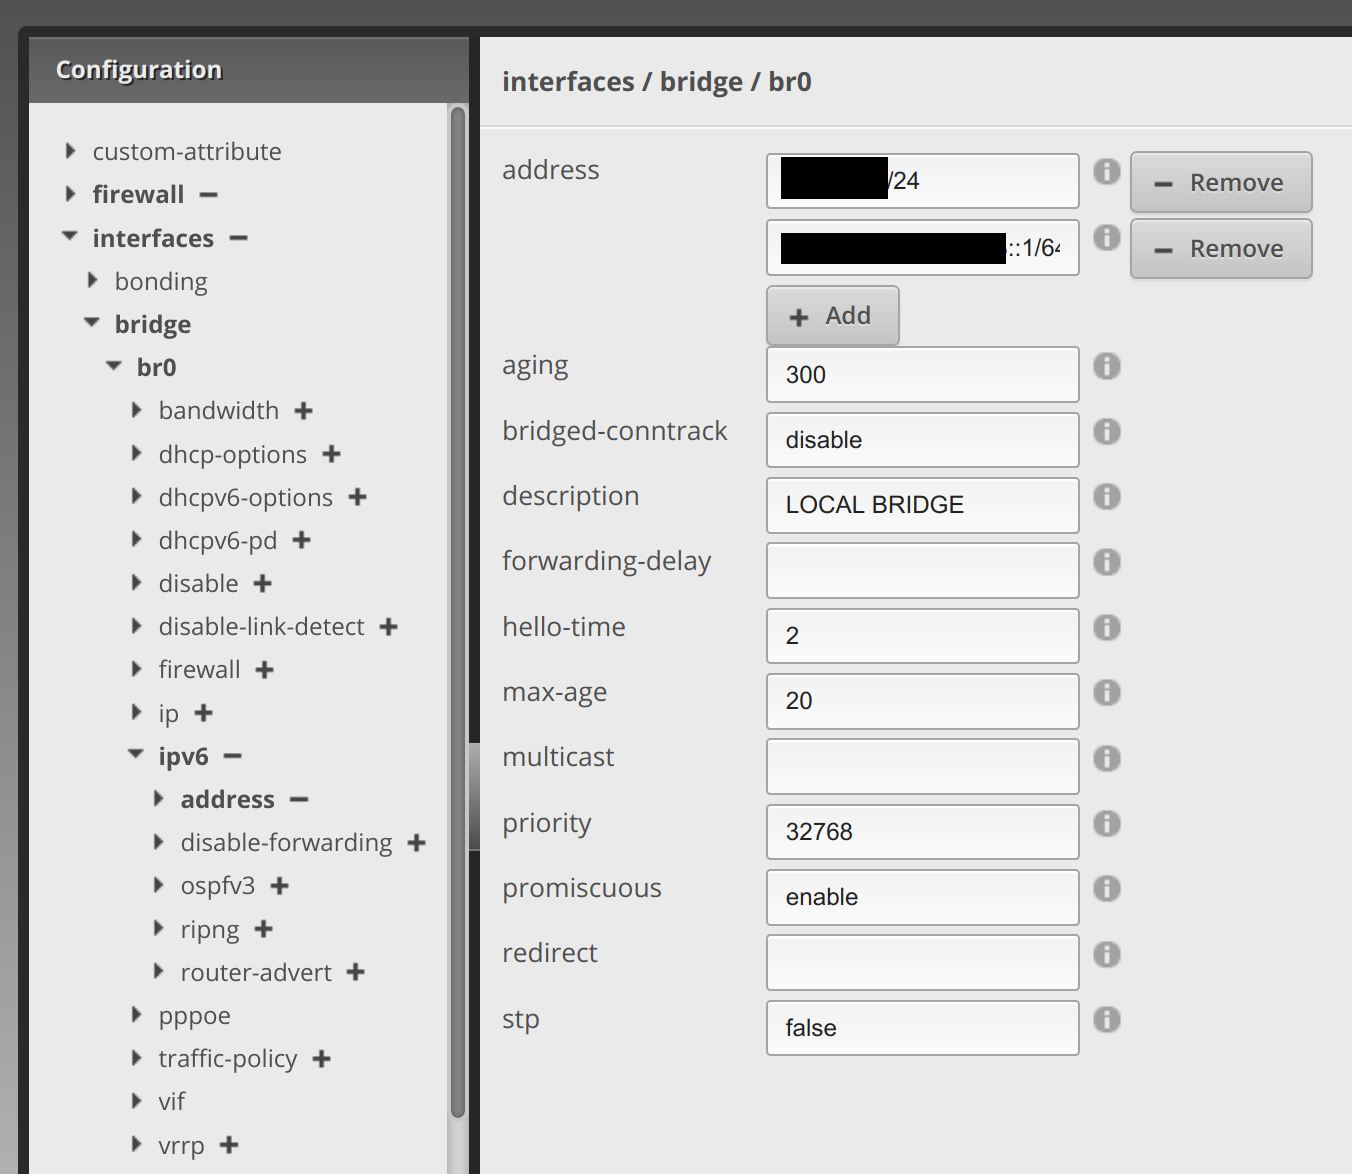
Clicking the arrow next to ipv6, enter 1 in dup-addr-detect-transmits. Then click Update List:

This will now route IPv6 addresses via DHCPv6 setup on the WAN from your given prefix delegation to your internal network.
However, you’re still not done. You have to open udp ports 546 (source) and 547 (destination) to the local interface firewall policy for DHCPv6 traffic to flow. In addition, you have to secure the network and I’ll walk through the rules used to do that in my next post. Technically, unless AT&T has properly firewalled your delegated prefix, your internal network might be exposed now. Though maybe not… read below:
(Side story: I noticed this particular security flaw mentioned above when IPv6 was first switched on in my router. I setup prefix delegation and opened ports to allow IPv6 access to my websites. I secured my own network against this issue, preventing any IPv6 address on the internet from getting to my internal network, but it wasn’t long until AT&T shut off my IPv6 altogether. I chatted with support about it, I tweeted with them, and I finally called to explain the problem, which was… I simply didn’t have a WAN IPv6 address anymore or any internal IPv6 LAN addresses to utilize. They either didn’t understand the problem or at best didn’t know how to get it back. The best answer I could get from them was to send me a new firewall, which didn’t fix the problem, telling me there was a policy change implemented in the router to shut it off. I don’t know if this was just me or a network-wide change. It wasn’t until recently that they switched it back on, which after testing it showed they had indeed closed that security gap with a new IPv6 policy or firewall change we’re all not privy to. I then had to set new rules to allow traffic to pass through to my nginx web server to become accessible from the internet via IPv6. I’ll explain how to do that in a later post.)
For the next part of this series of posts, I’ll show you how to firewall the IPv6 internal network to 1) make DHCPv6 work still pass through and 2) to secure your IPv6 network from being open to … the entire internet.
Sam K
This worked perfectly. Thank you so much! I’m glad someone else was also trying to set this up on an ER4. I will be watching for the next post.
David Westerfield
No problem! Here’s the next post on firewalling: https://davidwesterfield.net/2021/03/ipv6-firewall-rules-edgerouter-4/